Posts in Category: The Beginning – Electronics
First Actual Run
The first actual item produced on the machine, worked quite well. This was made using a 1/4″ bit at fairly conservative feed speeds.

6 years later, it lives again!
The last post here was 6 years ago. Since then, the machine has made it’s way from South Florida up to Spokane, WA. I just got it all back together and cleaned up a bit (surface rust). Still running Mach 3, as well as CamBam and CNCSimulator. One of my first projects is going to be cutting out holes in an enclosure for an LCD display.
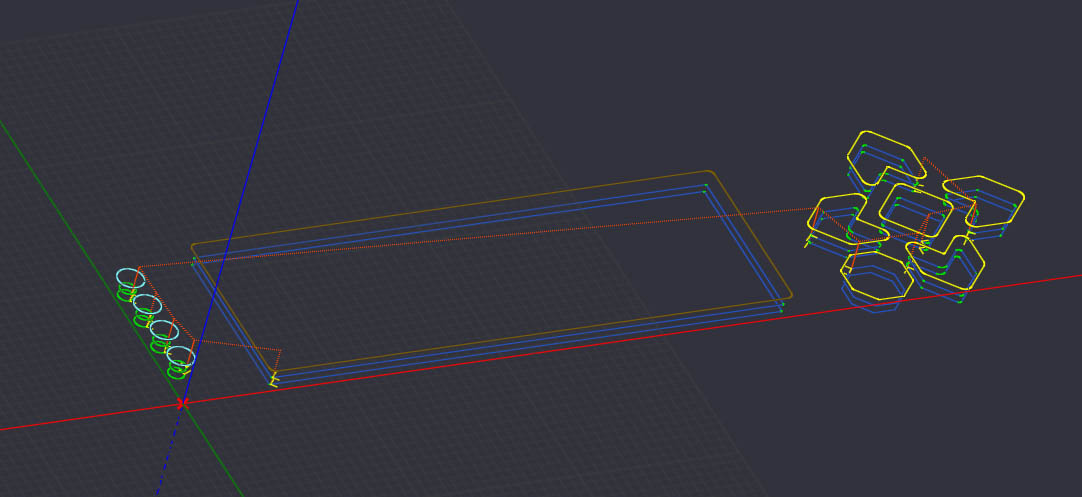
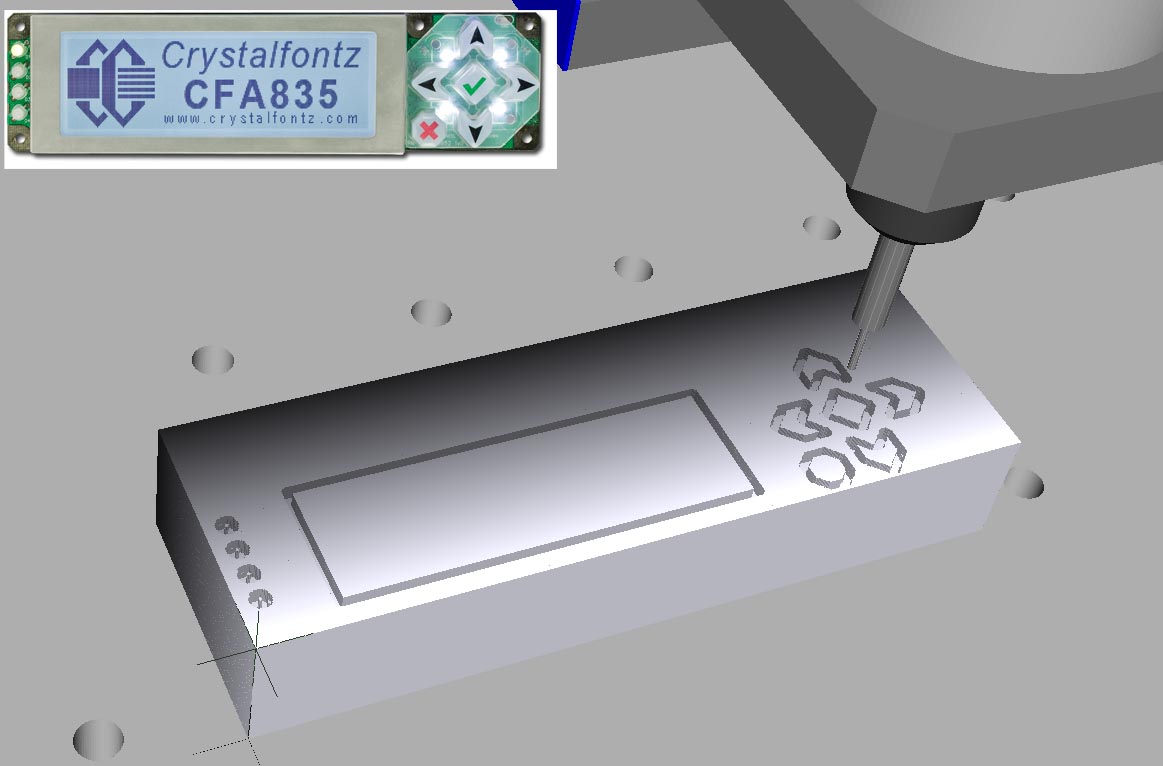
CamBam was used to generate the milling profile and G-code, as shown in the first image. The second image shows the resultant G-code being tested using CNCSimulator. I stuck a photo of the LCD display I’ll be needing to cut holes for.
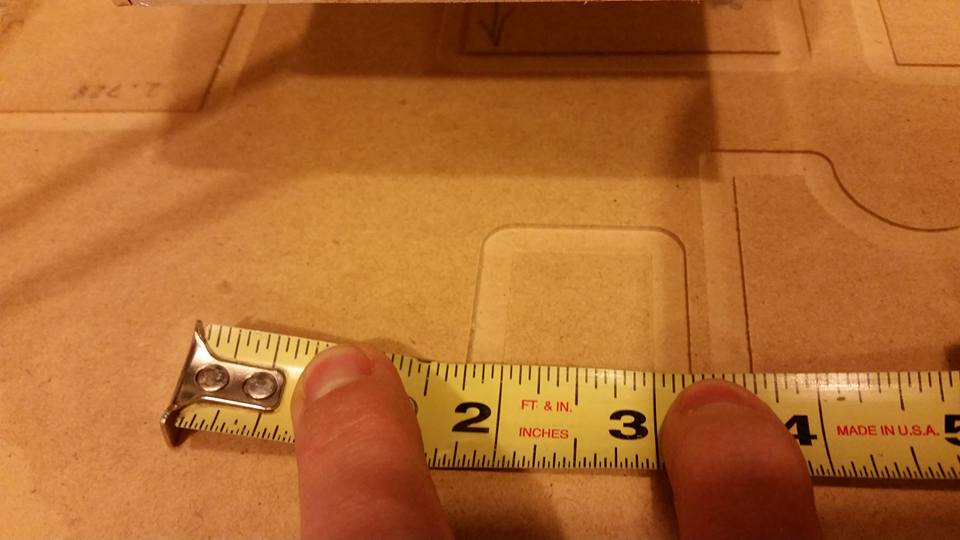
I did a quick test to check for accuracy. It cut a perfect (relatively) 1″x1″ square.
First Test of all 3 axis’s!
We’ve finally got the CNC machine up and running. Well, at least moving around! Still more work to do, but we’ve come a long way since the last posting. Here is a video showing our first test run with all 3 axis’s. You can hear some chattering in the X-axis. This will be corrected by either adjusting the micro-stepping from 1/2 to 1/4, or slowing the axis down a bit, or even a combination of both. Y and Z axis’s sound sweet!
It’s alive!
I finished up the wiring tonight and by 5:10am, the controller was running the steppers! Here’s some pics of the finished enclosure and electronics:


As can be seen in the photos, we cut a nearly square section of aluminum plate for the bottom of the enclosure. It adds a bit more rigidity to the base and also makes for a handy heat sink for the rectifier to mount directly to (with plenty of heat sink compound).
Here is the final product, with all the steppers hooked up and connected to the computer (running Mach3). The lid is still left off, I’ll eventually modify it to fit over the printer cable.


When I first started up Mach3 and ran the sample Roadrunner G-Code, only one stepper would move, although all 3 were “humming”. After a few minutes I discovered that I needed to configure the pin assignments for the 3 axis’s in Mach3. These are silk printed directed on the printed circuit board. Until now, I hadn’t paid any attention to those. 🙂 But after that, they all worked flawlessly.
Screen shot of the pin setup:

Here’s a 1 minute video clip:
Enclosure
The enclosure HobbyCNC recommends for the board and other electronics costs around $36. Not wanting to spend that much for a plastic enclosure, I sought out to find a much cheaper one. And I did, for just $6.99 at Target. I first looked at some standard Rubbermaid containers, but they’re a bit thin and flimsy. Then I came upon this one. It’s built more rigid and will make the perfect enclosure.


The dimensions are very similar to the suggested enclosure, just a tad bigger.
Controller board soldered
Wasting no time, I soldered the board together. These first few pics are of me getting setup to solder, and a photo of the front & back of the pcb:
(Click on images for larger version)


I spent about 4 hours completing this board, and probably another hour preparing the heat sink. The heat sink that comes with the kit is simply a cut length of aluminum that must be drilled and tapped to attached to the parts via a 4-40 screw. I went the extra step and sanded my aluminum with fine sandpaper.
Finished board:


Electronics are here!
Our electronics arrived yesterday. Receiving packages in the mail is always exciting, and this one was definitely no exception!

Here’s my findings inside:

And here’s a close-up of one of the stepper motors:

The Beginning
So, recently my brother and I have decided to build our own CNC machine. A commercial unit can be very expensive, while a home-built unit can be significantly cheaper. I’m going to keep this site up-to-date the best I can with our progress and tons of photos.
Right now we’re looking at building something around 24″ x 36″ for doing wood work and aluminum. I’m in charge of all the electronics on this project, so my first decision was to purchase the well regarded Pro kit from HobbyCNC.com. With this, I got the 3-axis controller board (kit) and 3 305-oz stepper motors, which I felt were sufficient for our project. I ordered this on June 1st, and it arrived June 4th, just 3 days! Dave over at HobbyCNC does a great job, as I’ve heard he’s done for several years now. I’m very pleased so far!
While waiting for the kit to arrive, I went ahead and picked up the 24V 10A transformer required for the power supply (pretty much the only thing not included with the electronics kit). ![]()
HobbyCNC lists a couple sources for this. The first option would cost $58! I don’t think so. Luckily, option #2 is from MPJA is about 1/3 the price, which happens to be located just down the road from me. So, I drove up and picked up my transformer for just $18!
EDIT: 2/16/2015 – Wow, talk about inflation… MPJA still has these, but the price is now up to $29.95.
EDIT: 3/23/2016 – Price for those transformers is now $35.95 on MPJA.